Optical Illusion Drawing Step By Step
Watch my directed drawing video on how to draw a simple optical illusion for kids – a bus/angry face!
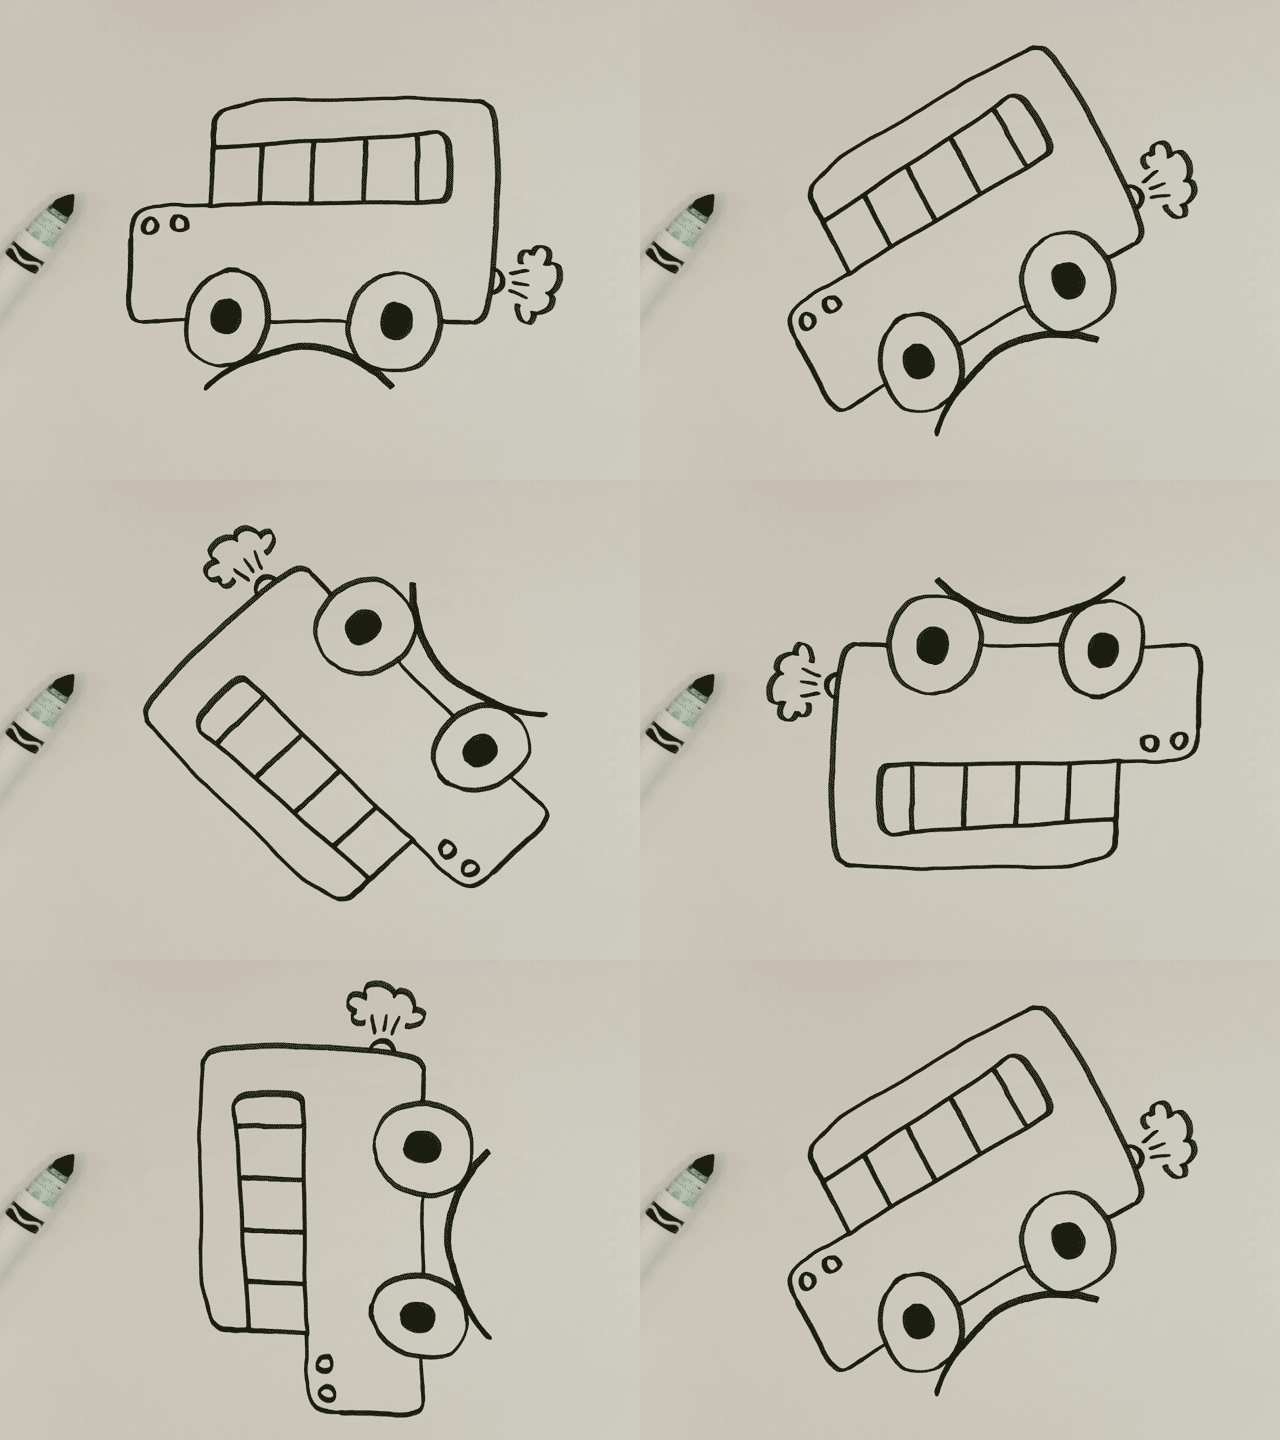
Hey everybody! In today's tutorial I'd like to show you how to draw a cartoon bus 🚌 that when flipped upside down looks like an angry face 😡. Like a lot of the simple optical illusions we are doing, the small details make the difference. We need to leave certain lines in and remove others, so that it stays balanced between both objects when we are finished! In this drawing, the spacing between the wheels/eyes and the slightly rounded corners make all the difference! I hope this optical illusion drawing is easy enough for kids in pre-k and kindergarten, but still fun for older kids and adults getting started with drawing. Pause the video if you need to catch up. For this easy drawing tutorial you just need a pencil, pen or marker and some paper. But of course feel free to color it in when you're done. Let's draw! – Patrick O.
Follow these directed drawing instructions that make a bus/angry face optical illusion drawing easy to do:
- First, let's draw the wheels of the bus. Let's focus on drawing the bus first, and then we can flip it over at the end to see the angry face. So let's begin by drawing two medium circles next to each other near the bottom of the page. These will be the eyes of the angry face when we flip it around. Then connect them with a horizontal line. Add two more small horizontal lines on the outsides of each of the circles to draw the bottom of the bus.

- Next, let's draw the body of the bus. Start by drawing a line up from the end of the line on the left and then turn it back to the right until it lines up with the first wheel. Then turn the line up again before another turn to the right. Draw this line all the way to the back of the bus. Finish the body of the cartoon bus by connecting the top line with the bottom line to create the back of the bus. Feel free to round the corners of your lines so that the face side looks a little softer when we flip it.
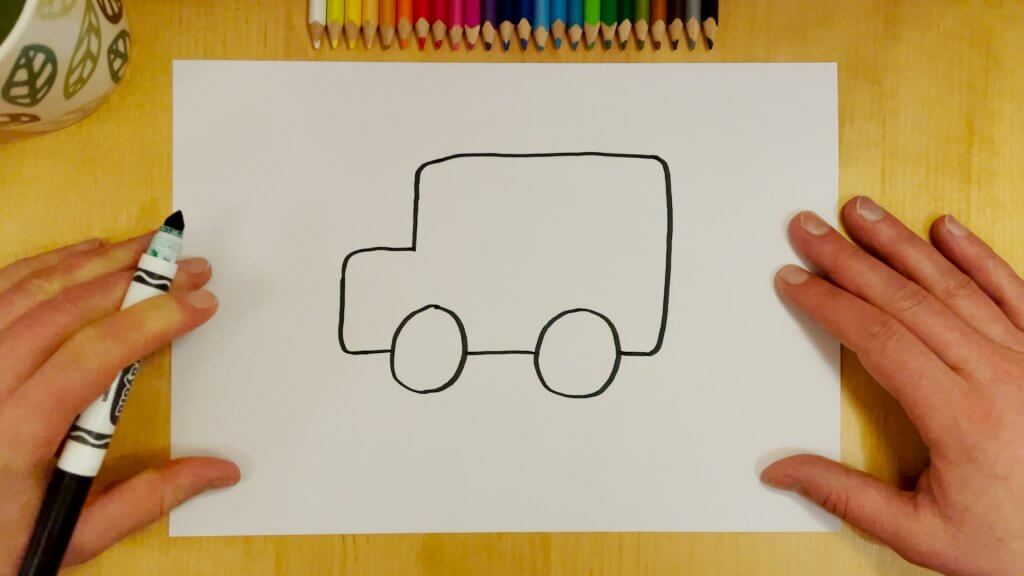
- Now let's draw the hub caps on the wheels of the bus. Inside each of the wheels, draw a smaller circle. Then fill them in, so that when we flip the drawing it will look like the pupils of the eyes.
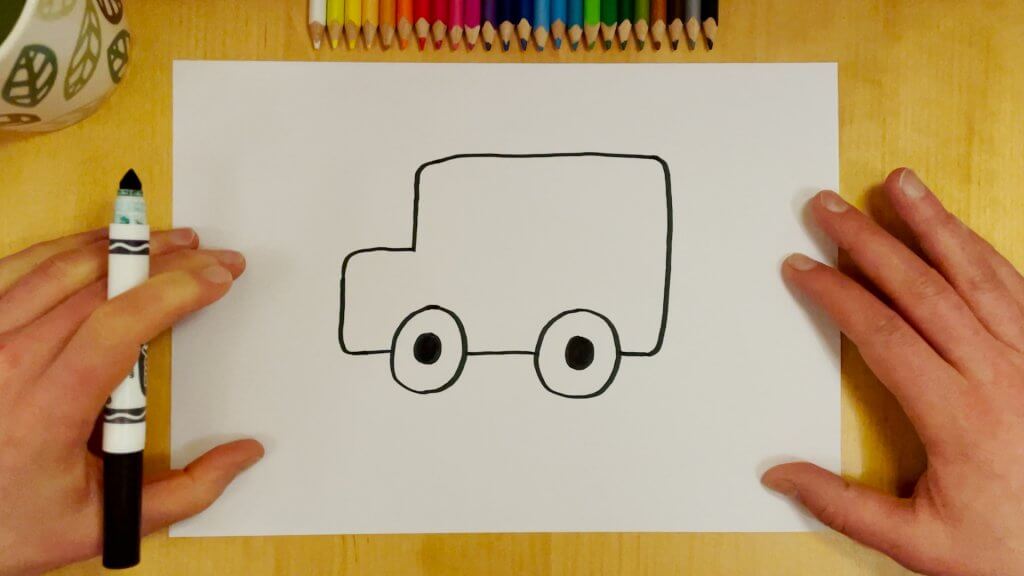
- Add two little circles to the front of the cartoon bus to make headlights.

- Let's draw the window's of the bus. Starting where the front hood of the bus meets the body of the bus, draw a line all the way toward the back of the bus. Then before you reach the back, curve it up and then back to the left again, all the way to the front of the bus. Draw a bunch of evenly spaced vertical lines to separate the windows of the bus. These will also be the teeth of the angry face!

- Now let's draw an exhaust pipe and some smoke. Near the bottom of the back of the bus draw a little half circle for the bus' exhaust pipe. Then draw a few angled lines coming out from the half circle. Finish with a sideways cloud shape for a puff of smoke. If done right, this should also look like steam shooting out of the ear of the angry face.
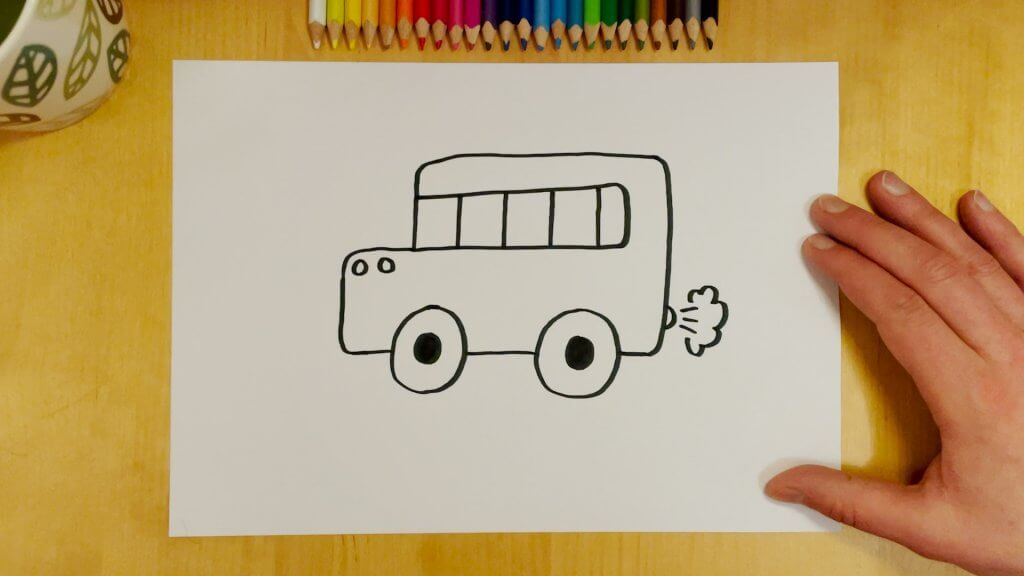
- Finish by adding a bump under the wheels of the bus. Draw a big curved line under the bus that just touches each of the wheels. This will be the downward curved eyebrows of the angry face when we flip it!
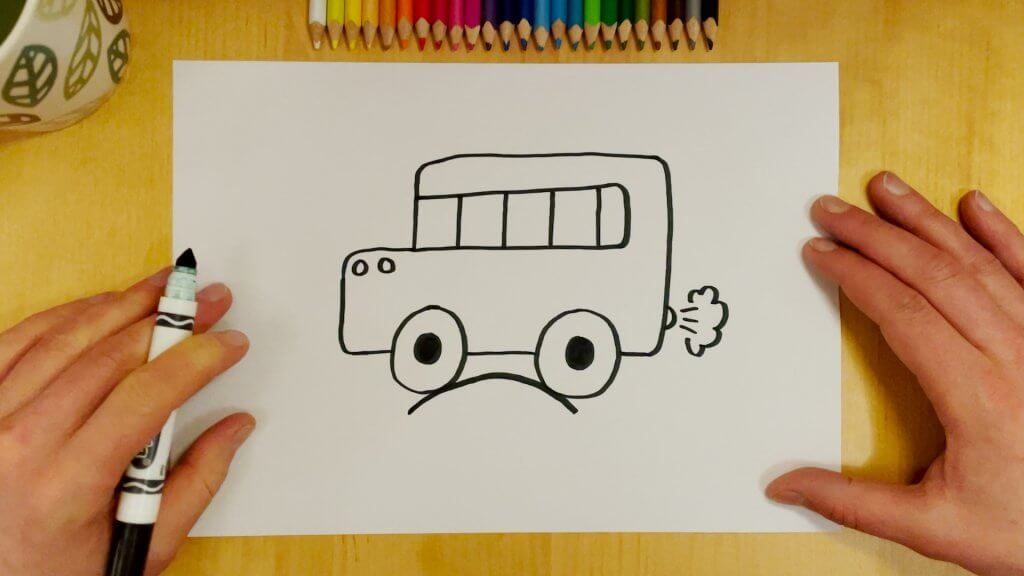
That's it. Just like magic! 🎩
- Tags angry, angry face, bus, easy, face, kindergarten, mad, optical illusion, pre-k, preschool, simple, trick, vehicle
Patrick is the creator the educational website Alphabetimals.com where cute cartoon animals in the shape of letters help kids learn their ABC's. Through the Otoons.net website he hopes to also help kids & beginners gain more confidence in their ability to draw through easy and fun step-by-step tutorials.
View Archive
Optical Illusion Drawing Step By Step
Source: https://otoons.net/how-to-draw-an-easy-optical-illusion-for-kids-a-bus-angry-face/
Posted by: thackerrensell.blogspot.com

0 Response to "Optical Illusion Drawing Step By Step"
Post a Comment